Should You Use a Primer?
A Guide to When and How to Use Undercoats
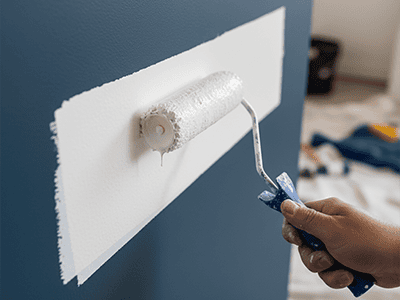
It’s a question every DIY painter asks themselves while standing in the paint aisle at Bunnings: "Do I really need to buy a primer as well?" It can feel like just another expense and another tedious step. But in the world of painting, primer (often called an undercoat or sealer) is the unsung hero. Using it correctly is often the single biggest difference between a patchy, short-lived job and a durable, professional-looking finish that lasts for years.
What Exactly is a Primer?
Think of primer as the bridge between your wall and your paint. It’s not just thinned-down paint; it’s a specialist coating designed to do three key things: seal the surface, help the topcoat stick (adhesion), and create a uniform base for your colour. In Australia, you'll commonly hear terms like "primer," "sealer," and "undercoat" used interchangeably, but they have specific jobs.
When Using a Primer is Non-Negotiable
For a flawless finish, there are several situations where skipping the primer will almost guarantee a poor result. You absolutely must use a primer or sealer when:
- Painting New Gyprock (Plasterboard): Fresh plasterboard is like a sponge. It will soak up your expensive topcoat unevenly, leaving you with a blotchy finish. A proper gyprock sealer is essential to even out the surface porosity.
- Painting Bare Timber: New timber, like skirting boards or architraves, contains natural oils and tannins that can bleed through your paint, causing yellow or brown stains. A good quality primer seals these in.
- Making a Drastic Colour Change: Painting a light colour over a dark one (like white over a deep red) is a nightmare without a primer. A grey-tinted or high-opacity primer will hide the old colour in one or two coats, saving you from applying four or five coats of your expensive topcoat.
- Covering Stains: Water stains from a leaky roof, smoke damage, or even stubborn marks from kids' textas will eventually reappear through standard paint. A specialist stain-blocking primer (like Zinsser) is the only way to lock them away for good.
- Painting Glossy Surfaces: Trying to paint over old oil-based enamel trim or glossy kitchen cupboards? Your new paint will have nothing to grip onto and can be scratched off with a fingernail. You need a specific adhesion primer to create a solid bond.
- Patching Repairs: The filler you used to patch holes is more porous than the painted wall around it. If you paint directly over it, you'll see a dull, flat spot in the final finish. A quick spot-prime over the patch will make it invisible.
When You Can Probably Skip It
You can sometimes get away without a separate primer if you are painting over a similar colour on a clean, previously painted interior wall that is in good condition and has a matte or low-sheen finish. Many modern "paint and primer in one" products from brands like Dulux or Taubmans are suitable for this specific scenario.
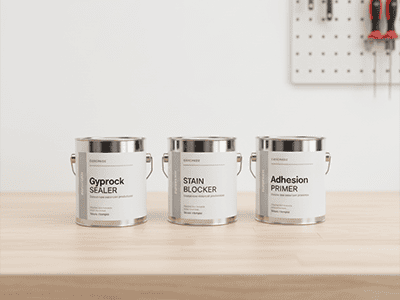
A Quick Guide to Primer Types
- Acrylic Sealer Undercoat: Your general-purpose go-to for new gyprock and most interior/exterior jobs.
- Stain Blocker: A powerful, often oil or shellac-based primer for locking in tough stains.
- Adhesion Primer (ULTRA GRIP): The specialist primer for slick, glossy surfaces like laminate, tiles, or old enamel paint.
Pro Tip from a Sydney Painter
The biggest mistake we see is people spending a fortune on premium topcoat paint, only to have it fail because it was applied to an unprepared surface. Using the right primer isn't an extra step; it's a foundational part of the job that guarantees the quality and longevity of your work. If you're unsure which product is right for your surface, the experts at DRJ Painting have the knowledge and experience to select and apply the perfect foundation for a finish that truly lasts.