The Right Way to Roll a Wall
How to Get a Perfectly Smooth, Streak-Free Finish Every Time
You’ve done the hard work of prepping and cutting in, and now it’s time for the most satisfying part: rolling the main walls. This is where you cover the most ground, but it’s also where mistakes like streaks, roller marks, and "holidays" (missed spots) can happen. The secret to a finish that looks like it was done by a professional isn't about speed; it's about using the right technique to apply an even, consistent coat of paint. With the right tools and method, you can achieve that flawless, velvety finish.
Good Gear is Half the Battle
Before you start, make sure your tools are up to the task. A cheap, flimsy roller frame or a worn-out cover will sabotage your finish before you even begin.
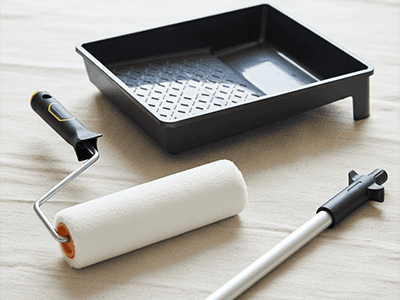
- A Quality Roller Cover (Nap): This is crucial. For standard gyprock walls, a 10-12mm nap is perfect. It holds enough paint to work efficiently but is short enough to leave a smooth finish. For textured or rendered walls, you’ll need a longer nap (up to 20mm) to get into the grooves.
- A Sturdy Roller Frame: Make sure it’s a good quality frame that the roller cover fits onto snugly and rolls smoothly without wobbling.
- An Extension Pole: Don't skip this! An extension pole is a pro’s best friend. It allows you to roll from the top of the wall to the bottom in one continuous motion, which is the key to avoiding horizontal bands and maintaining a "wet edge".
How to Load Your Roller Correctly
One of the most common DIY mistakes is either overloading or underloading the roller. The goal is a fully saturated roller cover that isn't dripping.
- Pour about 2-3cm of paint into the deep end (the "well") of your paint tray.
- Dip the roller cover into the well, then roll it back and forth on the ramp of the tray several times.
- Repeat this process until the roller cover is evenly coated all the way around. It should look like a fully loaded, textured sponge, not a dripping mess.
The Professional "W" Technique for a Flawless Finish
This simple, systematic approach ensures you distribute paint evenly and avoid those dreaded roller marks.
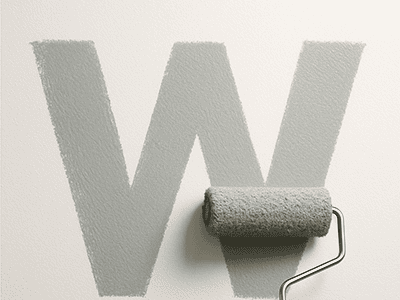
- Start with a "W": Begin about a roller's width from the corner of your wall. Roll a large "W" or "M" pattern onto a section of the wall about one metre wide. This quickly transfers a good amount of paint to the wall in a roughly even pattern.
- Fill it In: Without lifting the roller from the wall, use horizontal strokes to fill in the spaces within your "W". The goal is to spread the paint across the entire section.
- Lay it Off (The Crucial Final Step): Once the section is covered, "lay it off" with a final series of gentle, parallel strokes. Start at the top corner of your section and roll straight down to the bottom, all in one direction, without applying pressure. Overlap your previous stroke by about 30-50%. This aligns the paint texture and completely erases any roller lines.
- Reload and Repeat: Reload your roller and move to the next section, slightly overlapping the wet edge of the area you just painted to ensure a seamless blend.
Pro Tip from a Sydney Painter
The concept of the "wet edge" is everything. You must always roll into the previously painted section while it is still wet. This is why an extension pole is so vital; it allows you to work quickly and smoothly from top to bottom, blending each section perfectly into the next. It’s a technique that becomes second nature with experience, and it's how our team at DRJ Painting guarantees a consistent, beautiful finish on every wall, every time.