The Ultimate Guide to Prepping Walls
How to Get a Flawless Finish Before You Even Open a Can of Paint
Ask any professional painter in Sydney what the secret to a perfect paint job is, and they won’t say it’s their brush technique or a fancy roller. They’ll tell you it’s preparation. What you do in the hours before you crack open a can of paint determines 90% of your final result. Skipping these steps is the most common DIY mistake, leading to peeling, patchiness, and a finish that just looks... off. Follow this guide to prep your walls like a pro for a truly flawless finish.
Step 1: Clear, Clean, and Protect
You can’t prep a room that’s full of stuff. Before you do anything else, create a clean, safe workspace.
- Clear the Room: Move all furniture to the centre of the room and cover it with plastic drop sheets, or move it out of the room entirely.
- Protect Your Floors: Lay down canvas drop sheets on the floor. They’re much safer and more absorbent than slippery plastic.
- Remove Fixtures: Unscrew and remove all switch plates, power point covers, and light fittings. It’s far easier than trying to tape around them.
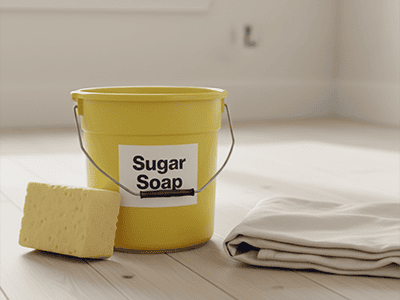
- Wash the Walls: This is a crucial step. Over time, walls collect a fine layer of dust, kitchen grease, and general grime. Grab a bucket, mix up some Sugar Soap (an Aussie cleaning staple for a reason), and give the walls a thorough wipe-down with a sponge. Rinse with a separate sponge and clean water, then let them dry completely.
Step 2: Repair Every Imperfection
Now that the walls are clean, every little crack, dent, and nail hole will be obvious. This is your chance to make them disappear for good.
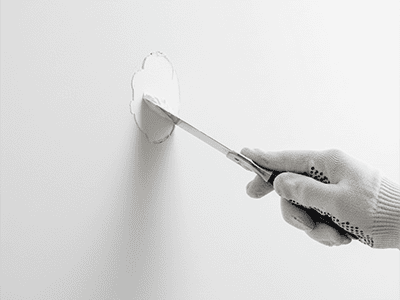
- Fill Holes and Cracks: Using a flexible putty knife, apply a multi-purpose wall filler to any imperfections. For small nail holes, a single pass is fine. For larger cracks or dents, you may need two applications, letting the first dry before applying the second.
- Overfill Slightly: It’s always best to apply the filler so it sits slightly proud of the wall surface. This allows you to sand it back perfectly flat.
Step 3: Sand for a Silky-Smooth Surface
Sanding creates the uniform, smooth base that is essential for a professional finish. It ensures your repairs are invisible and helps the new paint grip the wall.
- Sand Your Repairs: Once the filler is completely dry, use a sanding block with 120 or 180-grit sandpaper to sand the patches until they are perfectly flush with the surrounding wall.
- Scuff Sand Glossy Surfaces: If your old walls have a semi-gloss or gloss finish, give the entire surface a light "scuff sand". This dulls the sheen and creates microscopic grooves for the new primer and paint to adhere to.
- Wipe Down the Dust: After sanding, your walls will be covered in fine dust. Use a slightly damp cloth or a tack cloth to wipe every surface down. Painting over dust will result in a gritty, rough finish.
Step 4: Tape for Razor-Sharp Lines
The final preparation step is masking. This is what gives your work that satisfyingly clean and professional edge.
- Apply Quality Painter's Tape: Use a good quality painter's tape (the blue or green type) to mask off the top edges of skirting boards, around window and door architraves, and along the ceiling line if you aren't painting it.
- Press to Seal: Here's a pro trick: after applying the tape, run your putty knife or a credit card along the edge to press it down firmly. This creates a tight seal and stops paint from bleeding underneath.
Pro Tip from a Sydney Painter
Proper preparation is time-consuming, but it is never time wasted. It’s the foundation of a durable, beautiful paint job that will stand the test of time. It's the core of what we do on every project, ensuring the premium paint we apply looks perfect and lasts. If the thought of all this prep work seems daunting, DRJ Painting is here to handle it all for you, delivering a flawless finish built on a foundation of expert preparation.